Setup with OAuth 2.0
Setup with OAuth 2.0
A Custom App can be set up to use client-side OAuth 2.0 authentication.
Learn how OAuth 2.0 authentication worksPrerequisites
To set up a Custom App using OAuth 2.0 authentication you will need to pass the following requirements.
- You need to be a be able to access the Developer Console for your enterprise, or sign up for a developer account.
Create the app
1. Log in to the Developer Console
Head over to the Developer Console and select "Create New App".
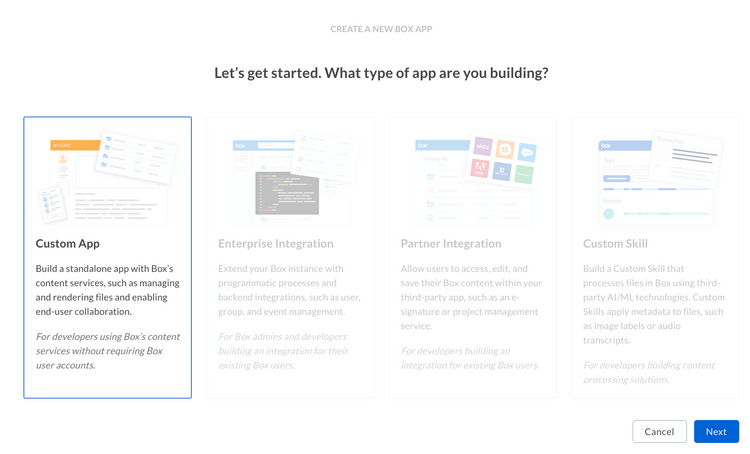
2. Create a Custom App
Select the "Custom App" option from the list of application types and select "Next".
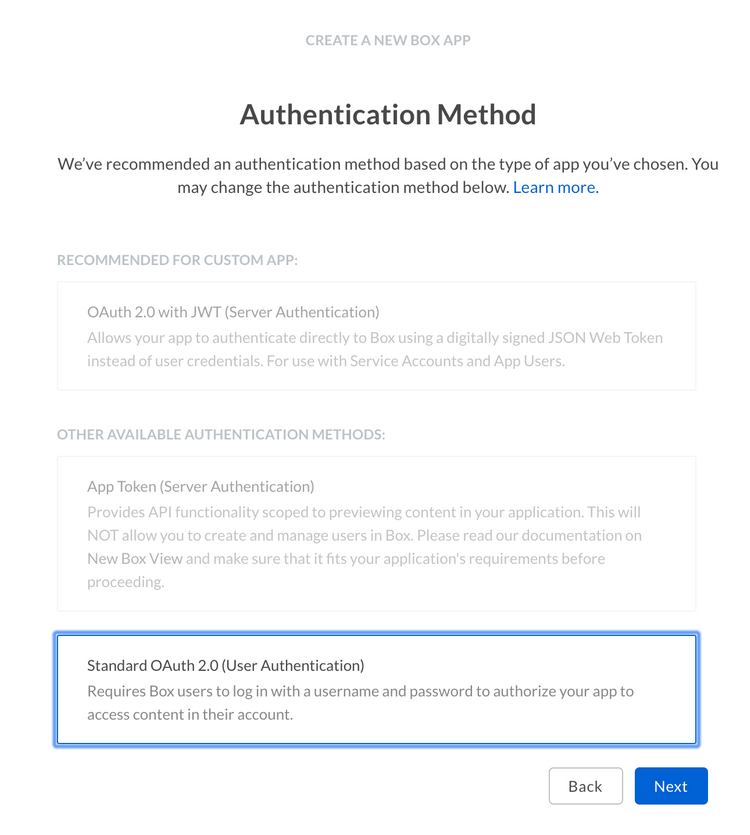
3. Select OAuth 2.0 authentication
On the next screen, select "Standard OAuth 2.0 (User Authentication)" and select "Next".
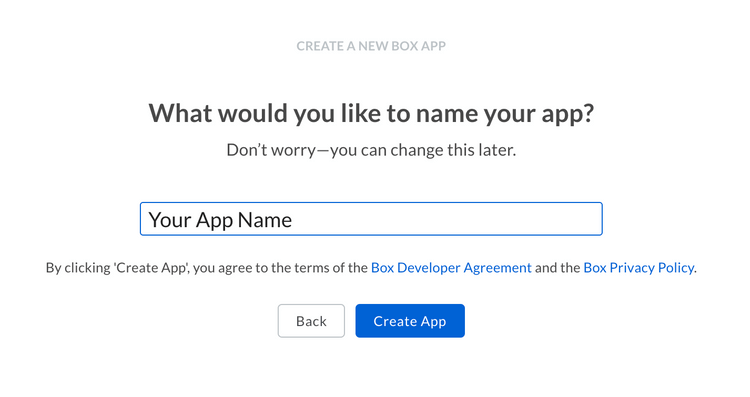
4. Provide a name
Finally, provide a unique name for your application. This name needs to be unique across all applications on Box.
Basic configuration
Before the application can be used, some basic additional configuration might be required.
Redirect URI
During the OAuth 2.0 flow a user will need to be redirected to the Box web app in the browser to provide their login credentials and authorize your application access to their data.
After this, the user is redirected back to the redirect URI of your application.
This URI can be any secure HTTPS URL, or a less secure HTTP URL for a server
running on localhost.
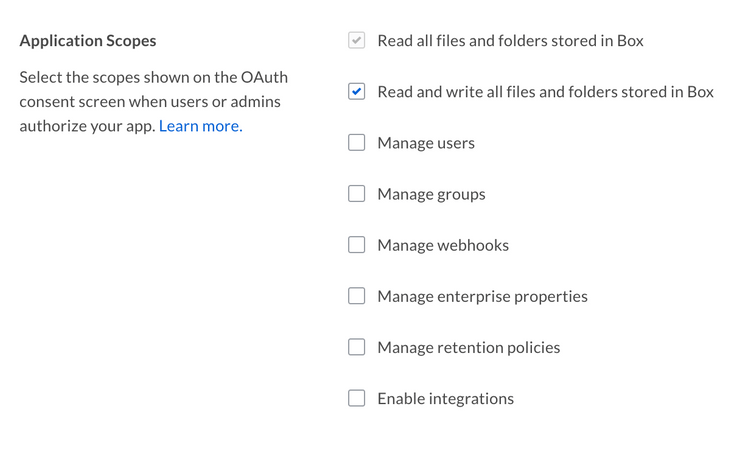
Application Scopes
These options define what permissions your application has to access data. See the scopes guide for detailed information on each option.
CORS Domains
If your application is making API calls from front-end browser code in Javascript then the domain that these calls will be made from will need to be whitelisted for Cross Origin Resource Sharing, also known as CORS.
Fill in the full URI(s) of the domains that should be enabled in your application to make these kind of requests. If all requests will be made from server-side code, this section may be left blank.


